Tongbaechu-Kimchi - From Korea With Love
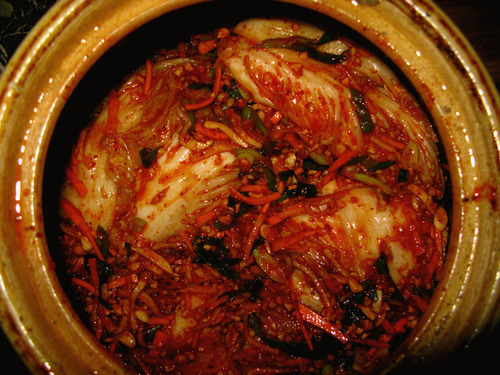
Tongbaechu-kimchi
There are many kinds of kimchi, but when Korean people say “kimchi”, this is the one they mean. The wombok (napa) cabbages are fermented in quarters, and a thick paste is made with sweet glutinous rice porridge, thinly cut vegetables, spices and Korean chilli flakes (gochugaru). The cabbage quarters are salted and softened, rinsed, covered with the paste, and then wrapped around themselves. These little parcels are then layered and pressed into a crock with whatever remains of the paste being used to fill any gaps. The outside leaves of the cabbage are placed on top, and the kimchi is fermented for 5 days or so before being transferred to cold storage. There is a lot of hands on work here, so making traditional Tongbaechu-kimchi presents the perfect opportunity to put the energy of love into our food. Korean people often eat some of their kimchi immediately with a simple salad dressing, or after only 1 or 2 days have passed.
Ingredients
3 large, or 4 meduim wombok cabbages
¾ to 1 cup Himalayan or other good salt
2 medium carrots
2 small daikons
2 small turnip radishes
1 ½ cups garlic cloves
1 cup ginger root
4 large or 8 regular spring onions
1 large onion
1 cup fish sauce
2 cups of gochugaru (Korean chilli flakes)
4 cups water
4 tbsp raw sugar
4 tbsp glutinous rice flour
This will take some time, we will need some big bowls, and some way of draining a lot of cabbage. I used a colander and a wire rack over two different pots. First, we get the cabbage ready.
The cabbage
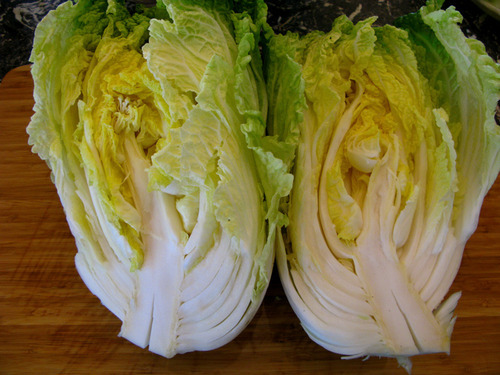
Remove the outer leaves of the cabbage, and put these aside. Examine the cabbage for any insect or grub holes, cut these out until any critter and damaged foliage are removed. Cut the stalk end neat with the rounded base of the cabbage, and place a 5 cm cut up the middle of the base of the cabbage. Possibly using the knife for initial leverage, we work our fingers into the cut and gently pull the cabbage into two halves. This prevents us shredding the delicate inner leaves. Place a similar slit in the base of each half, but don’t separate them into quarters just yet. Rinse the cabbage halves well in water, and place them all in one very big, or two big bowls.
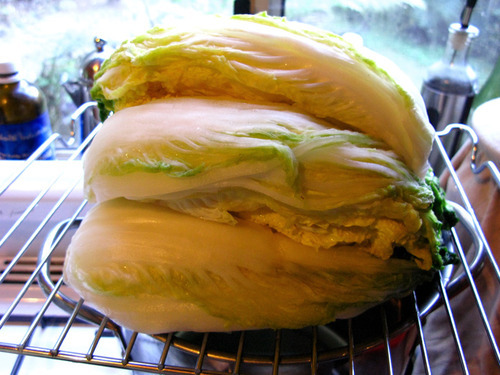
Take a bit of salt and begin rubbing it all over the leaves while the cabbage is still wet. Lift each leaf and work a little salt into each one, using a little more toward the base where the leaves are thickest. Try not to break off any leaves. As they are done, they need to be laid or stood on end in a large tray(s) or bowl(s). If laying flat, they need turning, if stood on end they need upending, both regularly through the two hours the cabbage will sit with the salt on. Water will collect in the tray or bowl, this may be spooned over the cabbage halves, and they may be dunked in the brine occasionally. Whatever works best depending on the set up we have.
After two hours, split the halves into quarters using the slit we put in earlier, rinse them well to remove the salt and any remaining dirt. Cut the bulk of the core away, leaving enough for the leaves to remain attached, then place them on a rack or in a colander to drain. Once mostly dry, our cabbages are ready to use.
The porridge
In a small pot, add the rice flour, then stir in the water to make a smooth liquid. Turn on the heat to medium, and cook for 10 minutes, until the liquid bubbles and thickens to a smooth porridge. Add the raw sugar, then stir and cook for another minute or so. Turn of the heat, and let this cool completely before adding to the paste. Do this as soon as the cabbages have begun the two hour soaking.
The vegetables
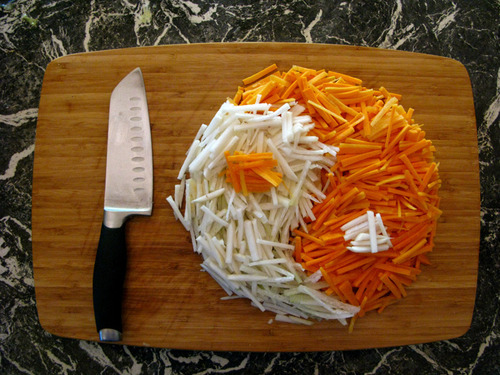
Cut the carrots and radishes into fine juliennes, or matchsticks. Cut the spring onion (whites and greens) thinly on the diagonal, then set aside. At all times during the handling of the ingredients, I like to maintain a focus of love and healing energy. In the photo below, as an extension of this, a balanced energy has been added to the mix during a meditative yin/yang arrangement of the carrot and radish juliennes.
The paste
Take the garlic, ginger and onion and either put in a food processor, or finely chop by hand. In a large bowl, add the fish sauce, the finely chopped spice mix, and the chilli flakes, then stir. Stir in the cooled porridge.
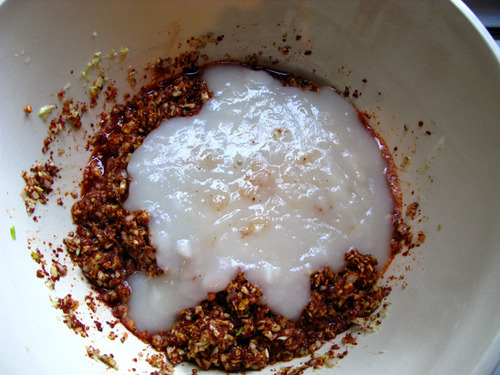
This is starting to look pretty good, isn’t it?

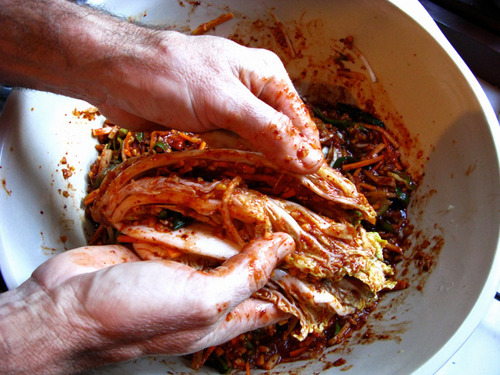
Stir in the vegetables until a thick and lumpy paste is formed. We are now ready to lay each wombok quarter into the paste bowl one by one, and to work in the paste.

Make sure the spaces between the leaves are well covered. Work the paste in there, and massage it into the outsides, especially the lower part where the leaves are thickest. This is a great time to put love energy into the food. We are lovingly opening the leaves and pasting them with goodness and taste, good energy is easily transferred in operations like this. Love your kimchi!
Once well coated, fold the quarter in on itself to make a little parcel. They are very soft now, this will be easy to do.
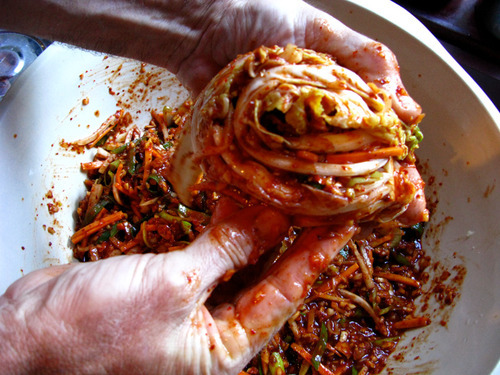
Pack each quarter into a large ceramic crock, trying not to leave any airspace. Pack bits of paste or shed leaves into any gaps, and continue until the crock is packed. Spoon any remaining paste over the top.
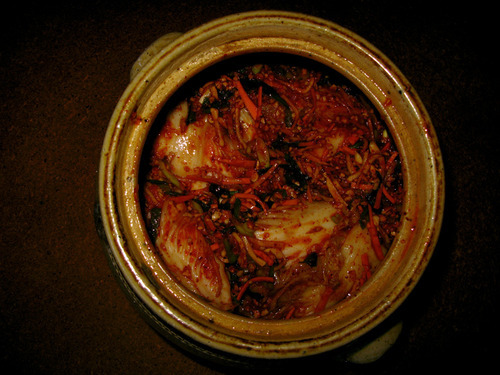
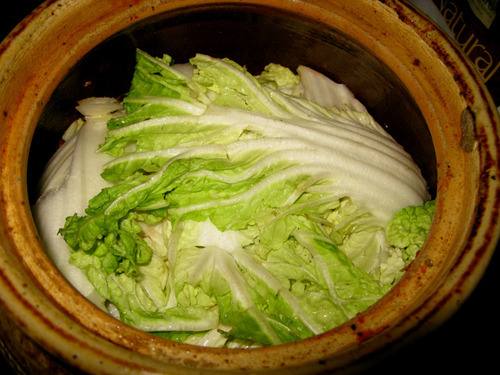
Take the outside leaves we reserved at the start, wash them very well, and trim any dead or dry matter. Layer these on top of the kimchi, pushing down as you go to express any air that may be trapped. Once you have layered all the leaves, put the lid on the crock and let ferment for 3 – 5 days. After 5 days, eat some fresh, and place the rest in glass jars for cold storage.
This is food that should be eaten fresh, though it will store well in the fridge. Refrigeration slows down fermentation, but it does not stop it. The longer the kimchi is in the fridge, the sourer the taste will become.
This recipe draws inspiration from many traditional sources, with a little tweaking of my own. The most influential source was the excellent Maangchi. Visit her website here for authentic Korean recipes
https://www.facebook.com/celestialroots
http://www.celestialroots.com/
magic is the intelligence of love