Sprouted Mung Bean Sourdough Bread
Sprouted Mung Bean Sourdough Bread
This bread is a good meeting point between traditional sourdough bread and sprouted Essene bread. Sprouted breads are often problematic – they can crumble, they can be a bit heavy and gluggy, or they can be hard, heavy and/or tasteless. Not always of course - a good sprouted bread is delicious, but here we are using not the sprout of a grain as the primary ingredient, but the sprout of a bean.
In India, mung beans are the first solid food given to infants because they are easily assimilated, and offer a host of nutritional and systemic benefits. Mung beans are high in vitamins K, C, and B, and many essential minerals, and are indicated as healing, helping foods for conditions as diverse as diabetes, dry or aging skin, constipation, heart disease and cancer. Mung beans are low in oligosaccharides, the compounds responsible for flatulence and difficulty with digestion, and sprouting reduces these even more. Sprouting also reduces anti-nutrients which can bind essential nutrients (making them largely unavailable), and which can be an irritant to us. This bread is cooked on a very low heat, preserving the water soluble vitamins as well as the fat soluble ones, and retaining the enzymes and other beneficial metabolites of the sprouting process.
For a gluten free version, substitute another flour for the spelt. Add extra buckwheat or chickpea flour, or try rice flour, corn flour, or whatever you have. While oats don’t contain gluten, they do contain a protein that is similar to gluten that some people are sensitive too. Oats are often processed on machinery that processes gluten grains, so contamination is also a possibility. Try substituting a mixture of a seeds (pumpkin, sunflower, etc), perhaps with a bit of corn flour or polenta. For optimal health, all corn should be organic (to ensure non-GMO status).

Ingredients
350 g sprouted mung beans*
2 cups of slow fermented sourdough starter**
1 cup of oats
1 cup buckwheat flour
1 cup of chick pea (garbanzo) flour
1 cup whole spelt flour
2 tbsp olive oil
1 tsp salt
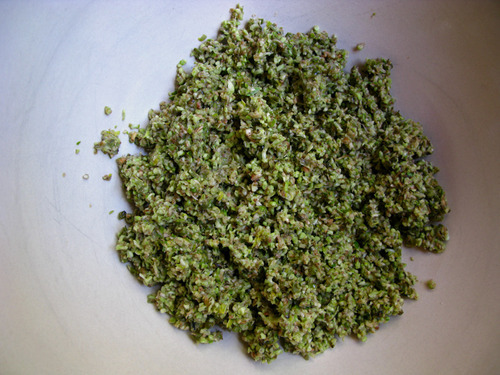
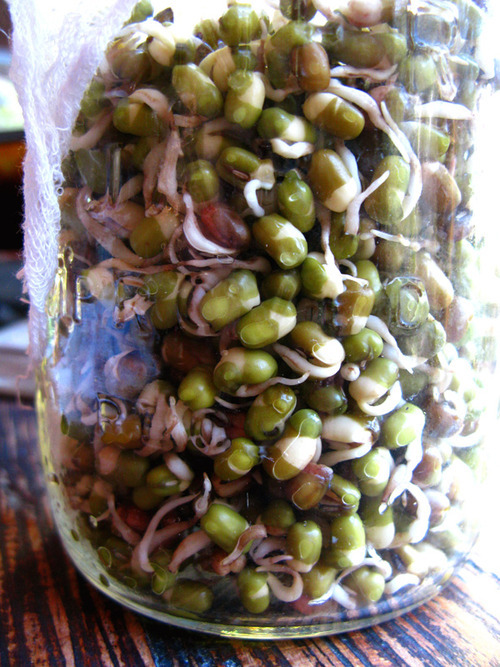
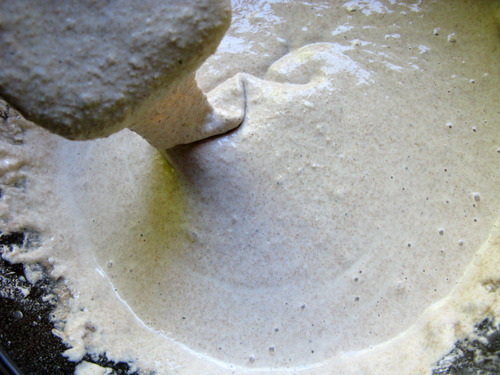
The mung beans need to be sprouted until the roots are as long as the sprouts. We will use the entire thing. Place the rinsed sprouts in a food processor or blender and process them finely.
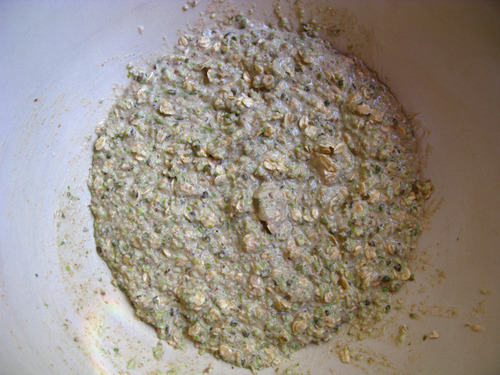
Add the olive oil, salt and oats, stir in, then leave to sit for 10 minutes so the oats become well hydrated.
Add the flours, mixing until just blended, then let the dough sit for 10 minutes again.
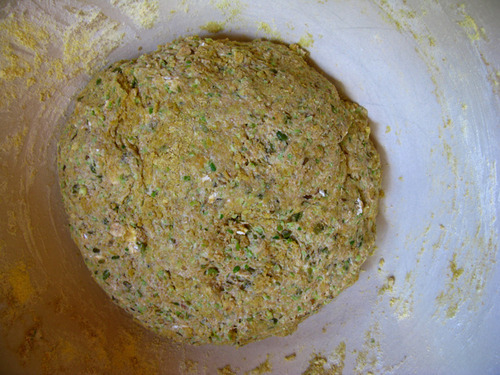
Give the dough a quick and light air knead, just until it has warmed in your hands. Oil a bread tin (I used coconut oil, which worked well when time came to remove the loaf) and push the dough firmly but gently down into it. Let the loaf sit in a warm place for 3 hours or so. Don’t expect a huge rise, but there will be a small but perceptible rising.

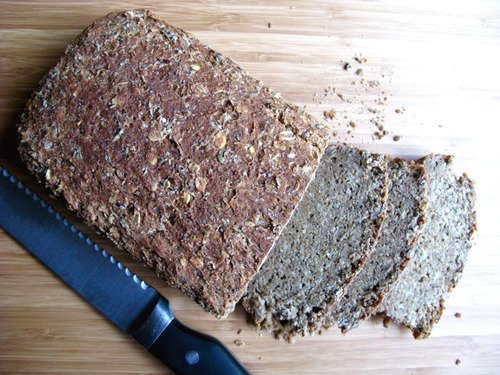
Cook on as low a heat as you can. Either put it on top of a wood stove, or in a low temperature oven. Cook for a couple of hours (use your judgement here, it wants to be soft and elastic to the touch, but with a definite crust). This loaf was cooked in a gas oven at 120° C for 2 hours. At this point, remove it from the tin, and bake for a further half hour to harden the rest of the crust. It is important to let this bread cool down before slicing. Slice when it is still just warm enough to slowly melt butter. The longer you leave it, the better it will hold together. My loaf crumbled a little on one side because there was a seam in the dough I didn’t work on. It was a time thing – I had other things that needed doing, so she went it “as is”. Ensure a good seamless dough however, and that should not be an issue.
*Sprouting the beans
Place the rinsed beans in a jar and soak for 8 hours. Drain them, then put them back in the jar. Cover the mouth of the jar with a cloth, then lie the jar on it’s side in a dark place. Every 8 - 12 hours, rinse the beans then return them. After a few days of sprouting, bring the jar out into the light and continue to sprout and rinse for a few days more until the roots have appeared, and are as long as the sprouts.
** slow fermented sourdough sponge
Take about a cup of bubbly sourdough starter, then add ½ cup of flour (whole spelt or rye, or buckwheat if you want a gluten free version) and some water. Mix until the consistency is very wet, but still like a very thick pancake batter. The bacteria in the starter will start to feed on the flour, and as long as they are kept fed, the sponge will remain sweet and bubbly. so we need to continuously feed this. In hot weather every 4 hours, in cold weather, you can get away with 8 or even 12 if more flour is added. To slow feeding add more water. Trial and error will tell you when the sponge needs feeding. Basically if it isn’t bubbling, it needs feeding. As the bacteria feeds, the sponge develops a real sourness, so when a finger is dipped in, and the sponge tasted, it is both sweet and sour. Lack of feeding will result in a third taste - the acrid and bitter taste of dead bacteria. True sourdough bread is sweet and very sour, but never bitter.
Useful links
http://www.celestialroots.com/sourdough-starters.php
http://www.celestialroots.com/slow-fermented-sourdough.php
https://www.facebook.com/celestialroots
<3